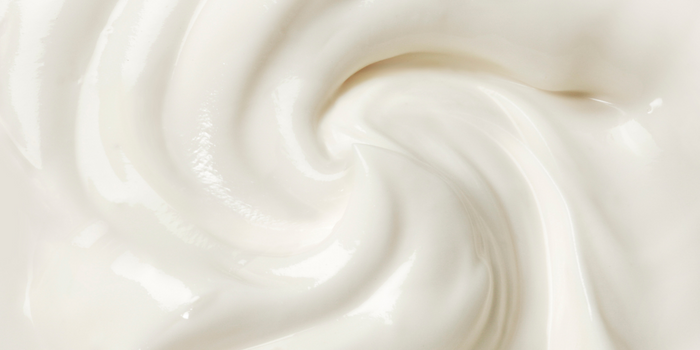
Get started: switch to homemade yoghurt!
Le yaourt maison
Haven't you been seduced by homemade yoghurt yet? One of the next arguments is sure to hit home:
- It is economical!
- He's green!
- It is healthy!
- He is beautiful! He is, he is, he is ?!
Wow, we're getting a little carried away! But for those who have already tried it, trying homemade yoghurt is a good idea! For the others, here is the basic recipe, which can be adapted in 1001 ways.

Basic recipe for homemade yoghurt
For a plain or sweetened yoghurt, it takes only 3 minutes with a yoghurt maker:
- Pour 1 litre of whole milk into a bowl (with a spout, it's the little tip of the day that will change your life! )
- Add a packet of lactic ferments OR 1 industrial yoghurt OR 1 homemade yoghurt from an old tour
- For those with a sweet tooth, add two packets of vanilla sugar
- For those with an even greater sweet tooth, add a little jam to the bottom of each yoghurt pot or a little strawberry syrup (homemade, of course!) to the mix.
- Finally, pour into your yoghurt pots (this is when you'll say: "Oh yes, indeed, the pouring bowl, I should have thought of that...")
- Start your yogurt maker
- That's it! So, how long did it take you 😀
Are you already convinced? It was a bit too easy ... But you can see some of them hiding behind it and making a sceptical pout. Yes, you are! We can hear you from here: "Yes, well, we don't all have a yoghurt maker, if I have to buy something new, so I have to spend my carbon footprint for that, ... *grumbl* ".
Yes, of course. You are right, then we have an alternative solution. Follow us.
Making homemade yoghurt without a yoghurt maker
The recipe is the same as far as the ingredients are concerned. All you need is a pan, which should be easy to find. Here's how to make yoghurt in the oven:
- Pour your litre of milk into your saucepan and heat over a low heat to a gentle bubble until the liquid is reduced to -30%.
- Cover and check the temperature regularly until the milk is 45°C.
- The ferments are added at this stage. Whisk the whole thing together. At this stage you can remove the skin that has formed (for the sissies 😉 )
- Pour into the jars and close them ("Oh yes, the saucepan with a spout would have been nice too... Raz-a-bol of the ladles!")
- Place your yoghurt in a large ovenproof dish and pour warm water into the dish until the milk in your yoghurt reaches the level of your yoghurt (still following?)
- Set your oven to 45°C for 20 minutes and then turn it off.
- Keep the door closed for the next 4 to 6 hours.
(Ideally, you should take advantage of the fact that your oven is still warm from a previous preparation to limit the energy consumption) - When they are set you can let them cool and then put them in the fridge.
Enjoy your meal!

You know everything! So, will you go for it? Also think about second-hand yoghurt makers for those who want to test but are afraid of buying new equipment for nothing. Imagine all the empty yoghurt pots that will no longer feed your yellow bin!
Doesn't that make you want to?

This article was written by Sabrina and Manon, mother and daughter, MPP volunteers from Tours...
and followers of the beautiful Native American legend of the "Little Hummingbird
MPP THEMES
The next themes

FOLLOW US
BACK TO THE SITE
CONTACT US
MPP COMPANY
mathilde@mapetiteplanete.org
SCHOOL PPM
chloe@mapetiteplanete.org
OTHER
clement@mapetiteplanete.org

